Sean Norris demonstrates how to make your own pure, clear ice at home— and learn more about frozen water on the way
When Jane Russell looked at Marilyn Monroe’s diamond engagement ring and said, “It looks like it ought to have a highball around it,” she was referring, of course, to the size and clarity of the “ice” on that ring (featured in the movie “Gentlemen Prefer Blondes”).
Yet ice, to this day, doesn’t get much respect. Despite its stature as a crucial necessity in cold beverages, we usually think of it about
five minutes before the party starts.
We have all seen big, beautiful blocks of clear ice in liquor ads and in our own drinks at posh cocktail bars. So, why do marketing execs and high-end bartenders demand clear ice? Two reasons: Clear ice is aesthetically pleasing—and often the perception difference between an “ok” drink and a “fantastic” one.
Let’s be honest: You deserve a fantastic drink. And so do your guests.
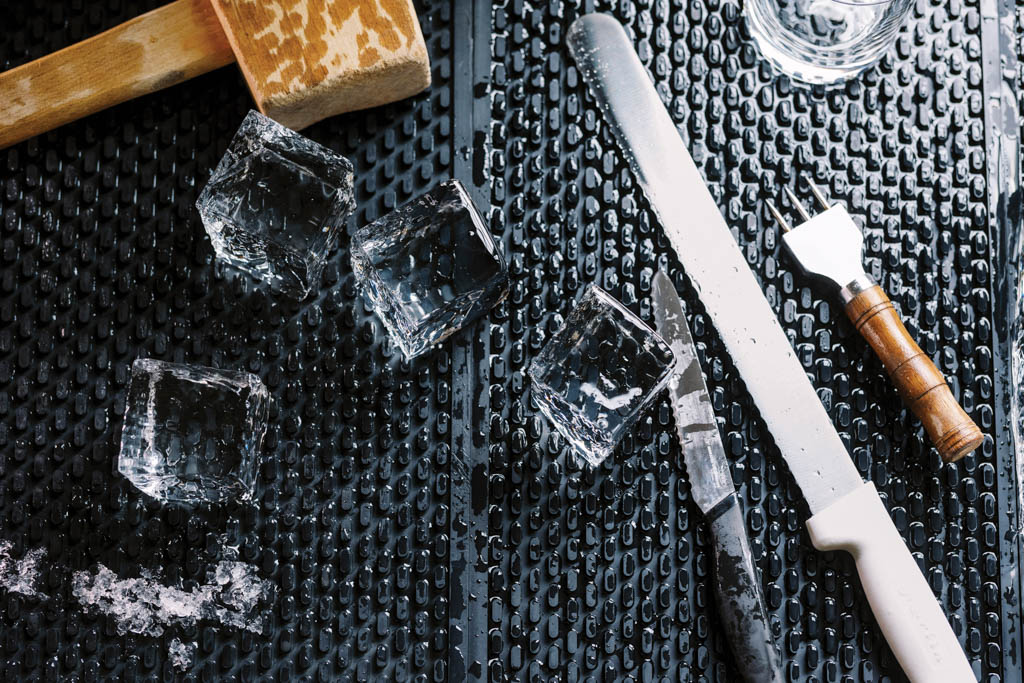
Here are the tools and equipment you’ll need:
Small Igloo cooler (Nothing fancy needed!)
Freezer space
2 gallons of quality spring water (e.g. Deer Park)
2-3 large bar mats
10” bread knife (serrated)
3” paring knife (serrated)
Rocks glass
Mallet (rubber or wooden)
Cut-resistant glove (Safety first!)
To begin, let’s first consider why clear ice is clear to begin with. I’ve found that the easiest visualization is a frozen lake. Essentially, the water is sitting in a giant bowl (the lake) with only the surface exposed to the cold winter air. The sides and the bottom of that “bowl” are insulated from the freezing surface temperature, so the water freezes from the top down very slowly.
Simultaneously, the crystal structure forces out any impurities, gasses, and dissolved solids, leaving behind a clear layer of ice. We’re going to replicate this process in your freezer using
the Igloo cooler. Make room!
1. Fill the cooler about ⅔ to the top and place into the freezer uncovered. Remember, the
reason the lake freezes clear is because the impurities are being pushed down and away.
If you cover the cooler, the water will freeze and trap all the impurities and gasses inside.
This is how ice becomes cloudy and we don’t want that! Keep in mind that most home freezers are not nearly as cold as you think, so be sure to allow the water to freeze for
at least 36 hours. Odds are, you will need more than 48 hours.
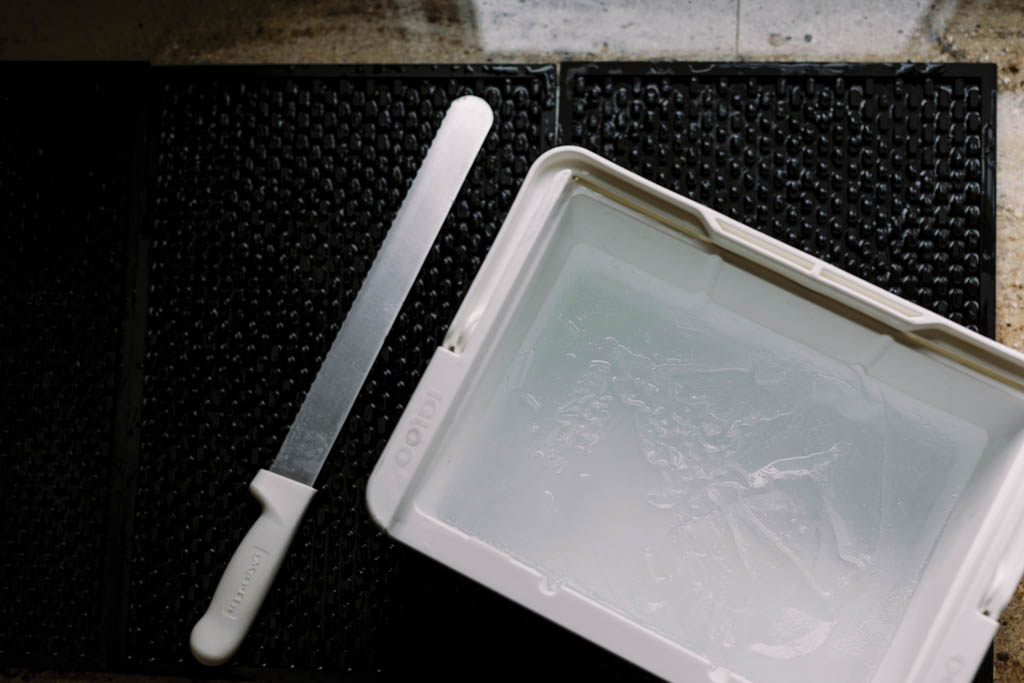
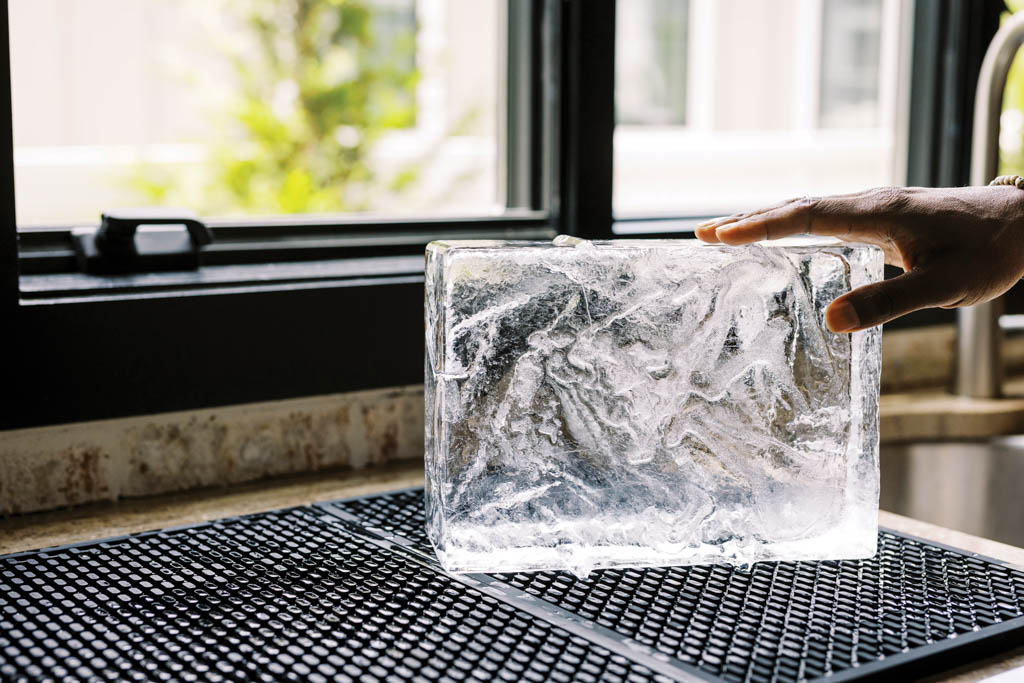
2. Set up one or two of your bar mats next to the sink, preferably on a surface that you don’t mind getting wet (you’ll thank me). Set up another mat in the sink. Remove the cooler and place it upside-down on the mat in the sink. Allow the ice to sit until it works itself out of the cooler. When it drops, pull away the cooler. At this point you will observe:
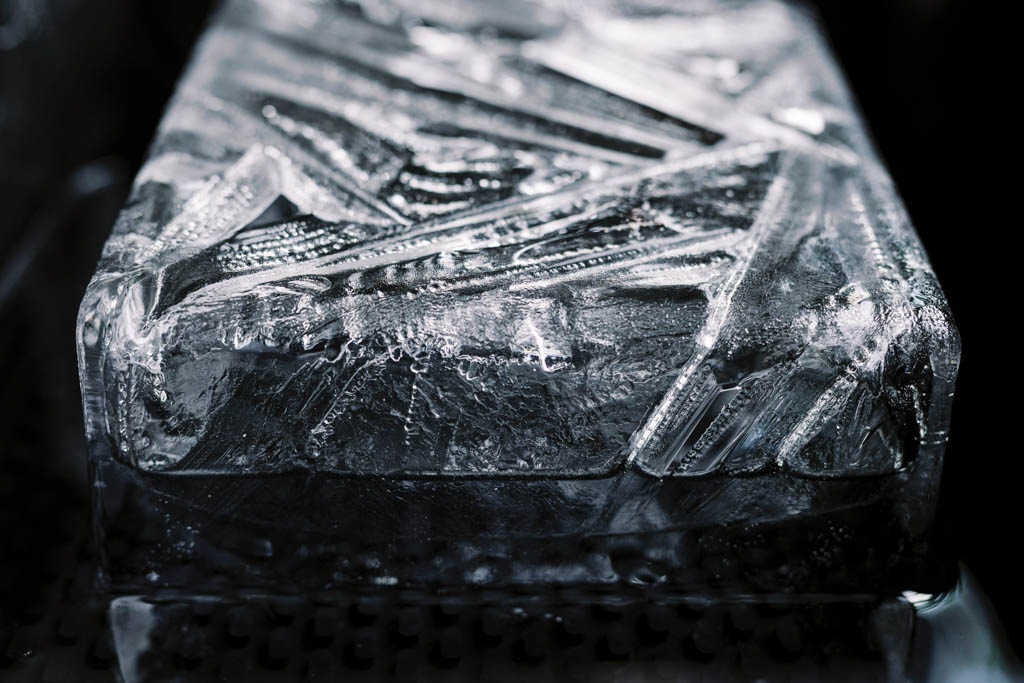
(a) A partially frozen block like mine (ideal—Proceed to step 4) or,
(b) A completely frozen block from top to bottom (not ideal). The good news? You can simply use your bread knife and ice pick to cut and chip away the cloudy part—but you’ll definitely want to use the safety gloves. If you don’t have them, I recommend reattempting a freeze for 12 hours less. Better safe than sorry!
3. If you freeze your block correctly, you should clearly be able to see that at least 2-inches of the block has frozen nice and clean. Cut and chip off the rest so that you’re left with a rough slab of solid ice. If it’s still a bit frosty on the surface, the ice is still too cold to begin cutting!
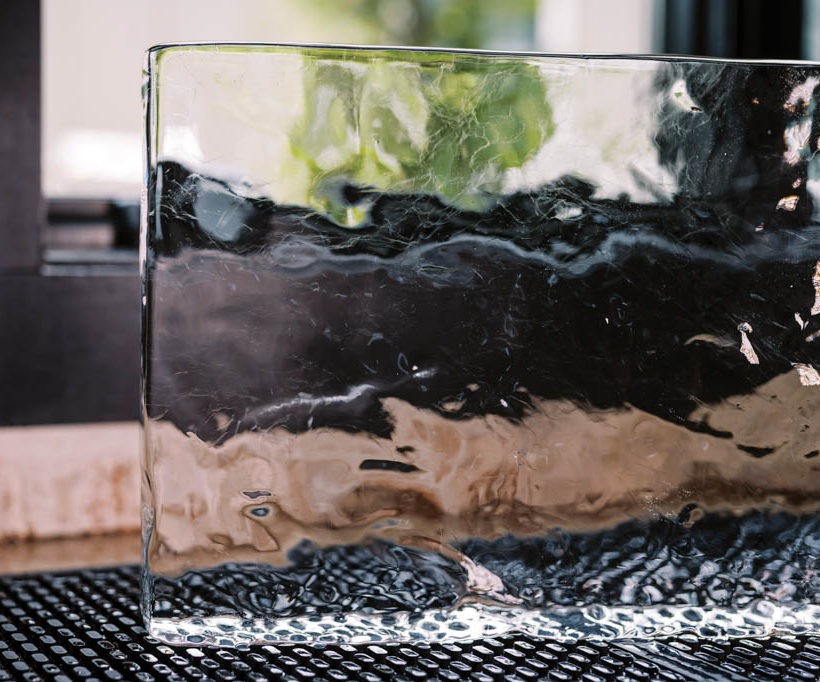
Allow the ice to sit and temper for 30-60 minutes. You will know it’s ready when it looks like wet glass.
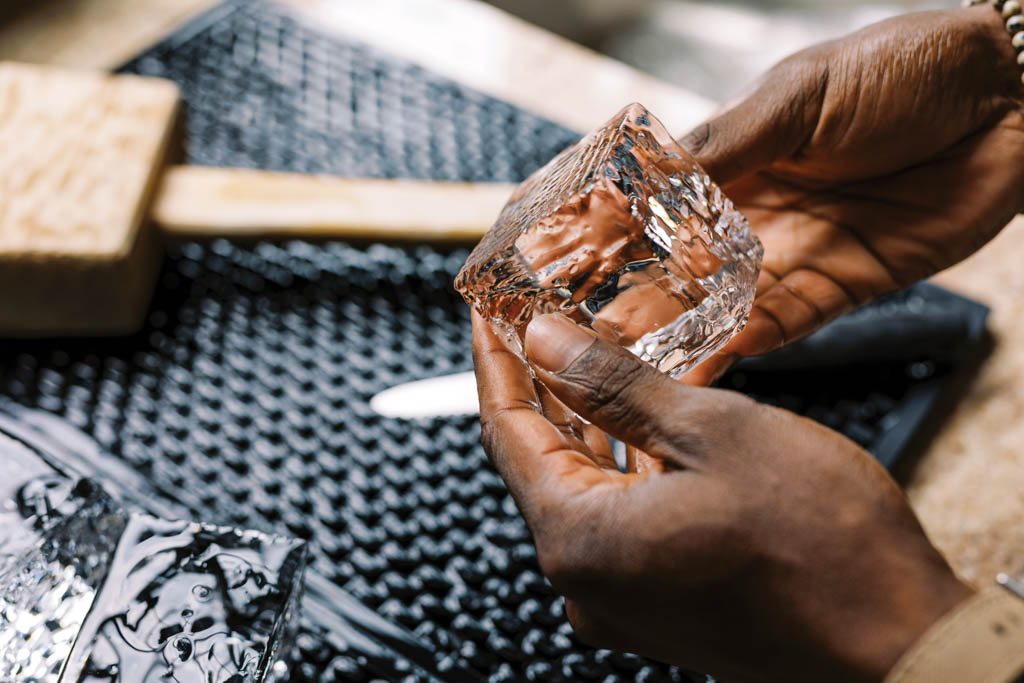
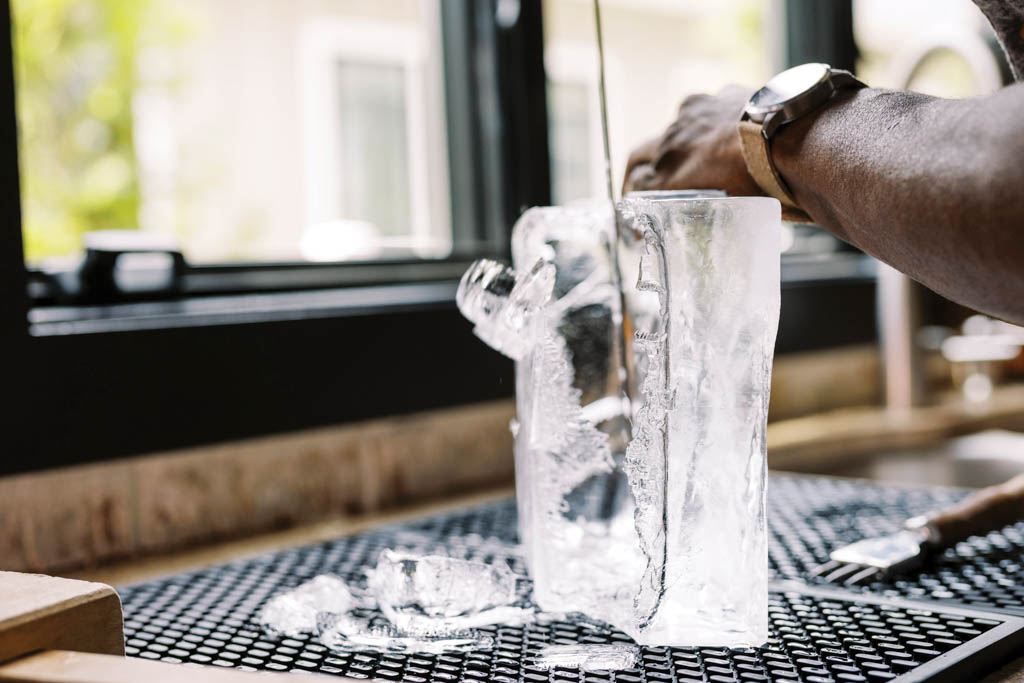
4. With the block laying flat on the mat, use a rocks glass to gauge the thickness of your first cut. Be sure to mark this spot with the knife. Now, gently run your bread knife back and forth to score the ice along that mark, repeating on all four sides. With the block laying flat again, sit the knife on the line, and gently tap with the mallet until it cleaves off a column of ice. Repeat this process to cut the column into cubes.
5. Check to see that your first cubes fit your glass. If they don’t, simply cut the next columns slightly smaller, adjusting as necessary. Place your cubes in the cooler as you cut them, and when you finish, you can sit them in the freezer. Oh, and keep one out so you can make this recipe! Cheers!
Rum Old-Fashioned
Ingredients
2 oz Appleton Estate 8-Year rum
1 tsp Demerara simple
2 Dashes Angostura bitters
Instructions
Combine all ingredients into a rocks glass and stir to incorporate. Carefully slip the big rock of ice into the glass.
Stir very briefly (3-4 seconds). Garnish with an orange twist and Luxardo cherry. Taste for balance. Behold.

Sean Norris owns and operates Limbo Mixology, specializing in boutique private events, classes, commercial bar and consultation. Limbo Mixology also provides an in-home bar consulting service, The Bar Tailor, which focuses on optimizing the home bar experience with the unique needs of each client in mind. In addition to recipes, Sean will be covering a wide variety of topics in each issue, including bar tools, mixing techniques, where to drink, bar setup and tips, current trends and much more.
Visit limbomixology.com and follow Sean on Instagram @limbomixology.